Multi-framing
Mise en cadre multiple

& Didier Leboutte

Here is the stereo example used in this tutorial. Many thanks to Gérard for his sculpture !
Voici l'exemple stereo utilisé dans ce tutoriel. Grands mercis à Gérard pour sa sculpture !
EoleX.png (3M)
EoleX.jpg (194K)

1) Open the stereo
1) Ouvrir la stereo

Open AnaBuilder, then use the menu  "Open crossed" to load the stereo (or a simple drag & drop of the image file).
Ouvrir AnaBuilder, et utiliser le menu "Ouvrir croisée" pour charger la stereo (ou un simple tirer & lâcher du fichier image).
OpenCrossedMenu
ImageBrowser.jpg

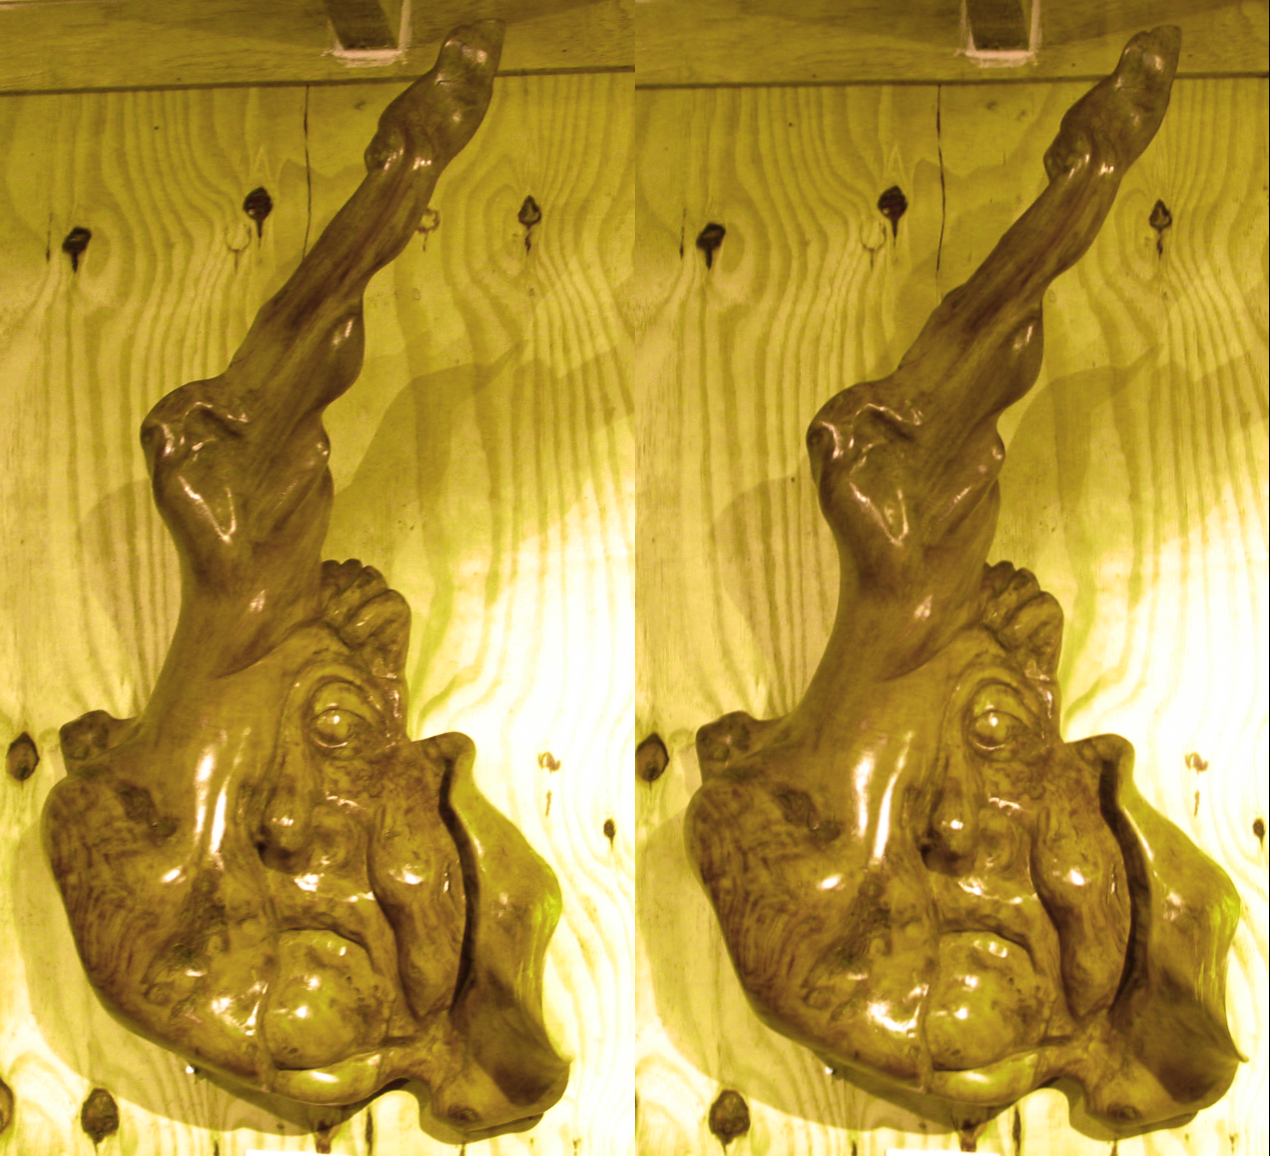
You should get a stereo anaglyph in AnaBuilder's main panel.
Vous devez obtenir une stereo anaglyphe dans le panneau principal d'AnaBuilder.

2) Create the first frame
2) Créer le premier cadre

Open the border definition tool.
Ouvrir l'outil de définition des bords.
OpenBorderMenu.jpg


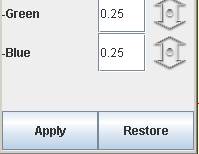
Enter border width : "Border % = 20" so that the created border will be 20% of the image size. Click on the "Texture" checkbox, so that this border will not be a single color, but a texture. Enter border 2 width : "Border 2 % = 7" so that the created border will be 7% of the image size. Click on the "Texture 2" checkbox, so that this border will not be a single color, but a texture. Click on the "2 directions" checkbox, so that this texture will have a different orientation horizontally and vertically. Then, click on the button at right containing a display of the current texture, and select texture named "PH0049_.pjg" in the texture browser.
Entrez une largeur de bord : "Bord % = 20" de façon à créer un bord de 20% de la taille de l'image. Cliquez sur la case à cocher "Texture", pour que le bord ne soit pas d'une couleur unique, mais une texture. Entrez une largeur de bord 2 : "Bord 2 % = 7" de façon à créer un bord de 7% de la taille de l'image. Cliquez sur la case à cocher "Texture", pour que le bord ne soit pas d'une couleur unique, mais une texture. Cliquez sur "2 directions", pour que la texture possède une orientation différente horizontalement et verticalement. Ensuite, cliquez sur le bouton à droite qui montre la texture courante, et sélectionner la texure nommée "PH0049_.jpg" dans le navigateur de textures.

BorderPanel.jpg
(Choice of the second texture)
TextureBrowser.jpg

Click on the "Preview" button at the bottom of the border tool to have a look at the result you will obtain, using the StereoBee viewer. You can zoom in/out, view as anaglyph, parallel or crossed. You can also set the window as full screen. Close the StereoBee when you are ok.
Cliquez sur le bouton 'Prévue" en bas de l'outil bord pour regarder le résultat que vous obtiendrez, en utilisant le visualiseur StereoBee. Vous pouvez zoomer plus/moins, voir comme anaglyphe, parallèle ou croisé. Vous pouvez aussi placer la fenêtre en plein écran. Fermer le StereoBee quand vous êtes ok.
StereoBee.jpg

3) Create the second frame
3) Créer le deuxième cadre

Validate this first frame choice on the edited image by using the menu "Actions / Replace originals..+ borders..". You should get the new stereo with the frame added.
Valider ce choix de premier cadre sur l'image éditée en utilisant le menu "Actions / Remplacer les originaux.. + Bords.. ". Vous devez obtenir une nouvelle stereo avec le cadre ajouté.
ReplaceReset.jpg

FirstFrame.jpg

Click 3 times on the "fast moving to left" button (MoveLeftBut.jpg) to add a small depth effect. Then, go back to the border panel and click the "Default" button at bottom to reset all definitions. Now click on the "Frame" checkbox to build a new framing from a frame image. Click on the button at right that display a piece of the current frame image, and select the frame named "Frame4.png" in the frame browser.
Cliquez 3 fois sur le bouton de "déplacement rapide à gauche" (MoveLeftBut.jpg) pour ajouter un peu de profondeur. Ensuite, revenir au paneau de définnition des bords et cliquez sur "Défaut" en bas pour remettre à zero toutes les définitions. Maintenant, cliquez sur la case à cocher "Frame" pour construire une mise en cadre à partir de l'image d'un cadre. Cliquez sur le bouton à droite contenant une visualisation d'un morceau de l'image du cadre courant, et sélectionner le cadre nommé "Frame4.png" dans le navigateur de cadres.
BorderPanel2.jpg
ImageBrowser2.jpg

You can click on the "Preview" button like previously.
Vous pouvez cliquer sur le bouton 'Prévue" comme précédemment.

4) Red/Cyan desaturation (optional)
4) Désaturation Rouge/Cyan (facultatif)

As this stereo is a bit red, and with the frame build at step 3, it also contains green, it is not really comfortable to view as anaglyph. If you would like to build a better anaglyph you should desaturate it. Validate the framing as at the beginning of section 3, updating the working image. After this validation, on the border panel, also click on the "Default" button to reset all values, to avoid adding twice the frame at the saving step. Now clik on the menu "Filters / red-cyan desaturation filter", and simply click on "Apply" button on the new panel to use the default values of this filter.
Comme cette stereo est un peu rouge, et avec le cadre construit à l'étape 3, contient aussi des verts, elle n'est pas vraiment confortable à voir en anaglyphe. Si vous souhaitez construire un meilleur anaglyphe vous devez la désaturer. Validez la mise en cadre comme au début de l'étape 3, en mettant à jour l'image de travail. Après cette mise à jour, dans le panneau de définition des bords, cliquez sur le bouton "Défaut" pour remettre à zero toutes les valeurs, pour éviter d'ajouter une deuxième fois le cadre à l'étape de sauvegarde. Maintenant, cliquez sur le menu "Filtres / Filtre désaturation rouges-cyans", et simplement cliquez sur le button "Appliquer" dans le nouveau panneau pour utiliser les valeurs par défaut de ce filtre.
DesatMenu.jpg
DesatApply.jpg


5) Saving
5) Sauvegarde

See section 4 and 5 of the begin tutorial (click here). To get a much better anaglyph at final step, open the Preferences panel and check the better quality checkboxes. Also set a  JPG compression rate depending on the file size you want.
Voir les sections 4 et 5 du tutoriel débutant (cliquez ici). Pour obtenir un meilleur anaglyph à l'étape finale, ouvrir le paneau des préférences et cocher les cases pour une meilleure qualité. Définissez aussi le niveau de compression JPG en fonction de la taille du fichier que vous voulez obtenir.
PreferencesMenu.jpg
PreferencesPanel.jpg

With these settings, you should get this final 77K anaglyph ("resize before saving" option was ON in the "Actions" menu).
Avec ces réglages, vous devez obtenir cette anaglyphe final de 77K (l'option "redimensionner à la sauvegade" était ON dans le menu "Actions").
EoleA.jpg