Double click on AnaBuilder's icon on your desktop - it should have appeared there at installation (for automatic installers). Double cliquez sur l'icon AnaBuilder que vous devez avoir obtenue à l'étape d'installation (pour les installeurs automatiques).
2) Open Left and Right images 2) Ouvrir les images gauche et droite
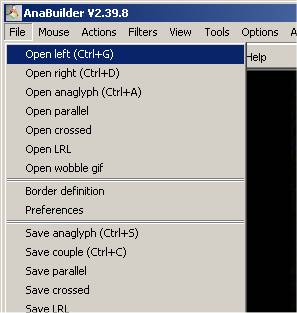
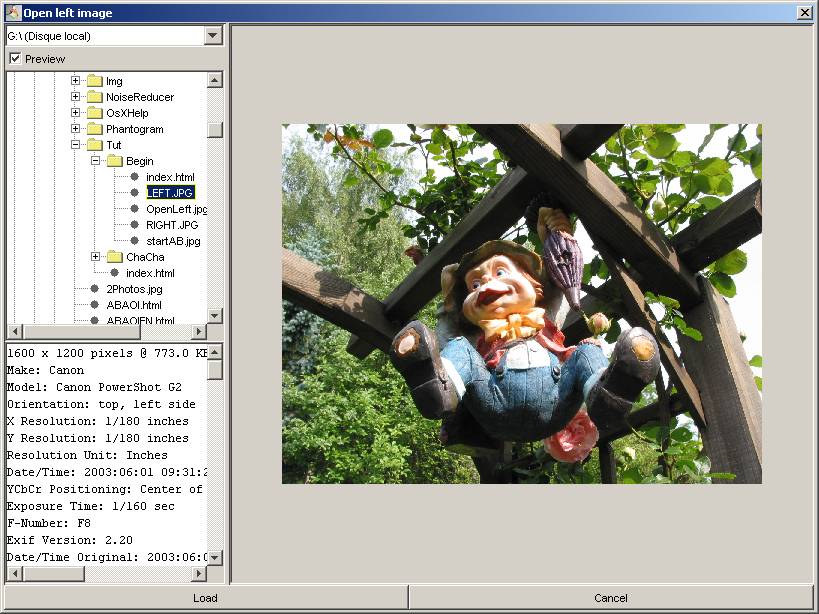
In the "File" menu, choose "Open Left". This should open an image file browser. Dans le menu "Fichier", choisir "Ouvrir gauche". Cela doit ouvrir un navigateur de fichiers images.
Search the left image on your disk and click "Load". Chercher l'image sur votre disque et cliquer sur "Load".
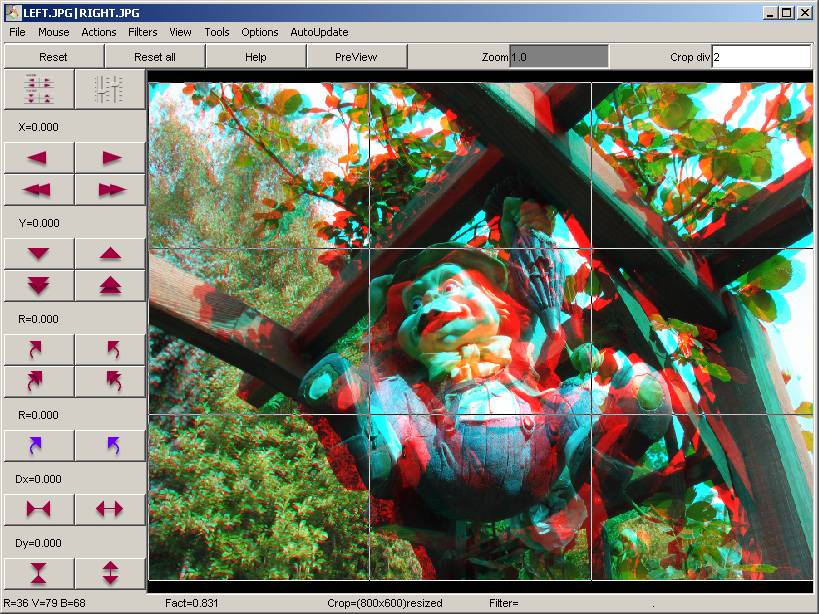
Do the same for the right image, using the "Open right" menu. You should get your first anaglyph in the center panel. Faire de même pour l'image droite, en utilisant le menu "ouvrir droite". Vous devez obtenir votre premier anaglyphe dans le panneau central.
3) Automatic adjustment of the stereo 3) Ajustement automatique de la stereo
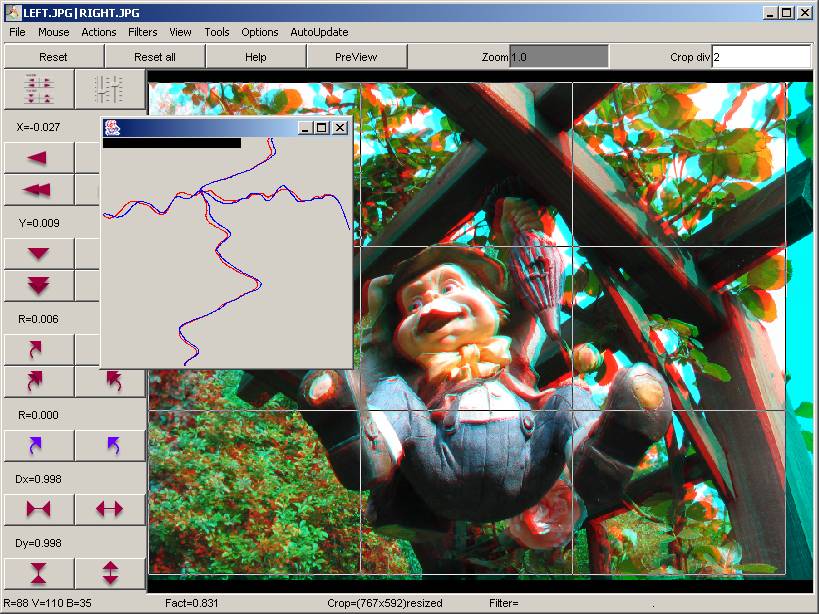
In the "Actions" menu, choose "AutoFit option : search for zero depth" (in latest version, this menu entry is named "align all behind the screen"), and then "AutoFit". Dans le menu "Actions", choisir "Option AutoCale : chercher la profondeur zero" (dans les dernières version ce menu est nommé "aligner tout derrière l'écran"), et ensuite "AutoCale".
This should launch the AutoFit tool. It first searches for horizontal, vertical, rotational and scale transformations to best fit both images together. It then looks for the horizontal position that will set all the scene "behind the screen" (stereo window position). Cela doit lancer l'outil AutoCale. Il cherche d'abord les transformations horizontales, verticales, en rotation et en échelle pour ajuster les 2 images ensemble au mieux. Il cherche ensuite la bonne position horizontale qui place toute la scène "derrière l'écran" (position de la fenêtre stereo).
As a result :
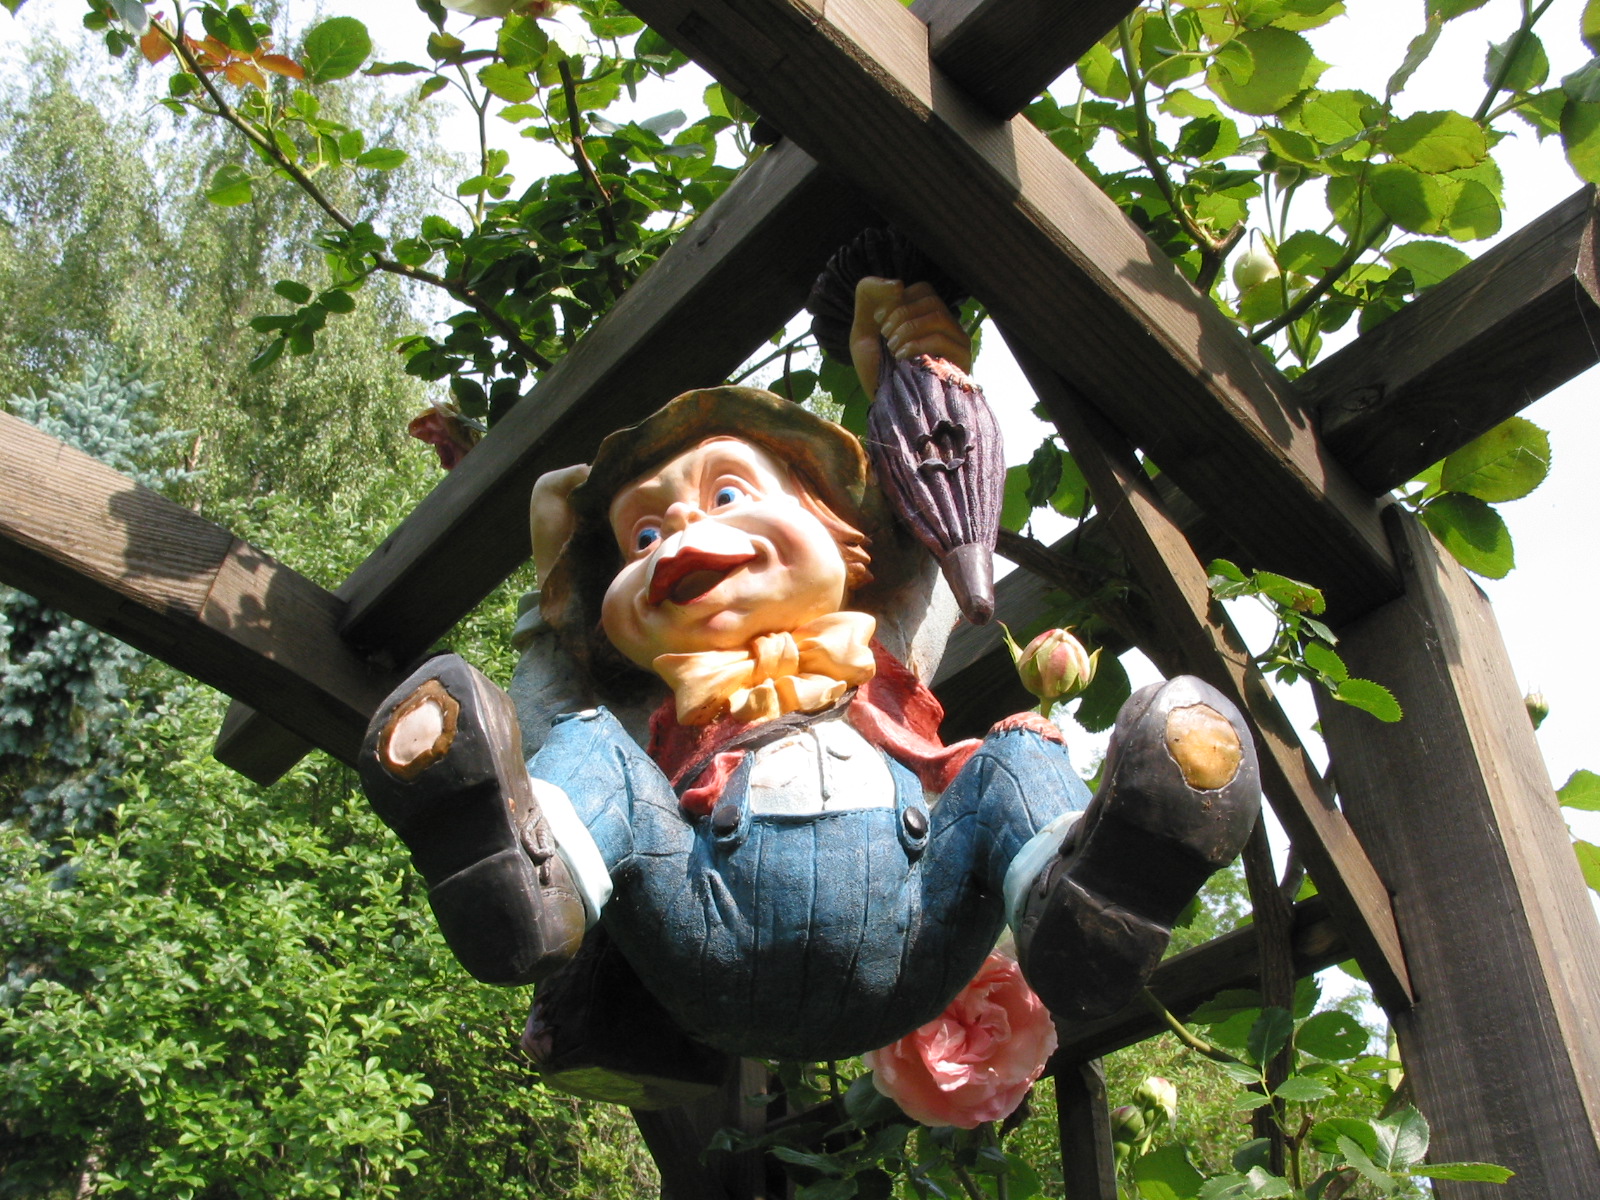
- there should be as little vertical shift as possible. In this picture, there is still a small vertical shift of the imp casued by a slight turn of the camera as it was moved to take the right image.
- the first object on the scene (the imp) should be at the screen depth : exactly left view over right view, without horizontal shift. The part of the scene that is exactly overlapped without horizontal shift is said to be the stereo window, and objects that are exactly overlapped, like the imp, are said to be at the window. Dans le résultat :
- il doit y avoir le moins possible de décalages verticaux. Ici, il reste seulement un petit décalage vertical sur le lutin qui vient d'un mauvais mouvement d'appareil photo.
- le premier objet de la scène (le lutin) doit être à la position de l'écran : exactement la vue gauche sur la vue droite, sans décalage horizontal. Le plan de profondeur de la scene pour lequel les objets sont exactement supperposés sans décalage horizontal est appelé la fenêtre stereo, et les objets qui sont exactemement suppersosés, comme le lutin, sont dits à la fenêtre.
Remark : in many cases, using "AutoFit with borders detection" in place of simple "AutoFit" will bring you a better adjustment, but, because of the slight camera movement, this is not the case in the imp example. Remarque : dans beaucoup de cas, utiliser le "AutoCale avec détection des bords" à la place du simple "AutoCale" offrira un bien meilleur résultat d'ajustement.. Mais, ce n'est pas le cas sur cet exemple du lutin.
4) Backup copy of the stereo 4) Copie de sauvegarde de la stereo
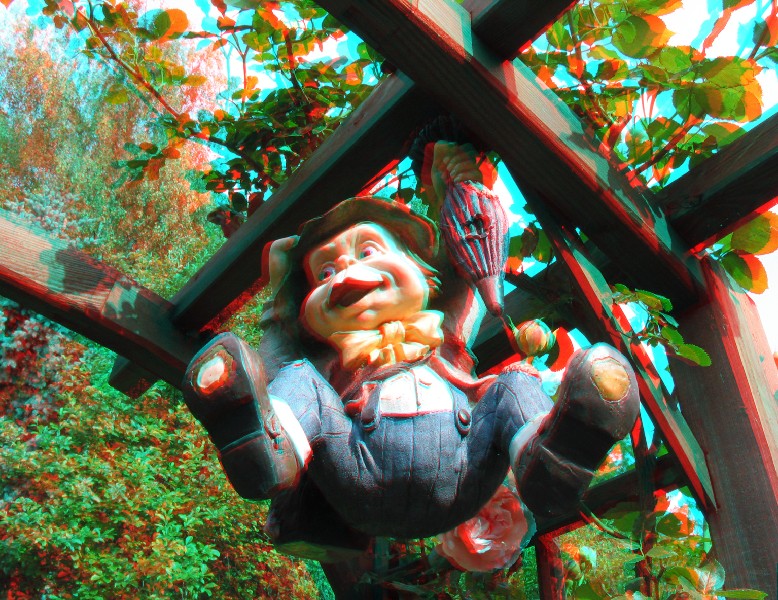
You should now save the result to preserve the work for later uses. It is best to save both views in a single file as a crossed stereo (left image to the right, and right to the left) in full colors, and in a preserving format like PNG (not JPG, which is a compressed format, and causes damages when saving). Vous devez maintenant sauvegarder le résultat pour le préserver pour des utilisations ultérieures. Le mieux est de sauvegarder les 2 vues dans un fichier unique en stereo croisée (gauche à droite, et droite à gauche) en pleines couleurs, est dans un format préservant comme le PNG (le format JPG produit des dommages à la sauvegarde).
Here is the file you should get : Voici le fichier que vous devez obtenir :
You can now save the stereo in the final stereo presentation (for example as anaglyph) and in the final file format (for example in the common JPG compressed format). Vous pouvez maintenant sauvegarder la stereo dans la présentation stereo finale (par exemple comme anaglyph) et dans le format de fichier final (par exemple dans le classique format de compression JPG).
Here is the file you should get, with a large anaglyph : Voici le fichier que vous devez obtenir, avec un grand anaglyphe :
You can also resize the image before saving. Vous pouvez aussi demander à redimensionner l'image avant la sauvegarde.
Here is the final file you should get, with a resized anaglyph (800x600, set in Preferences) : Voici le fichier final que vous devez obtenir, avec un anaglyphe redimensionné (800x600, défini dans les Preferences) :
Read the next tutorial to learn how to adjust anaglyph colors. Lire le turoriel suivant apprendre comment ajuster les couleurs anaglyphes.


